Whether you need a new desk or just want a new look, it's best to look before you leap! Anyone that's ever shopped around for new office furniture knows that desks can get expensive, so in the interest of saving money (and the planet) it's always a good idea to consider recycling. Most old desks have loads of history and character to bring to a space - all it takes is a little refurbishing. How you ask? Find out in today's article: How to Properly Refinish a Wood Office Desk!
Step 1: Prepare Your Desk
Before you head off to the store to shop affordable new office desks, it's never a bad idea to take a second look at what you've got. Fortunately, most office desks are pretty sturdy, and even after years of use, well made wood desks usually have years of use to give. All they require is a little TLC.
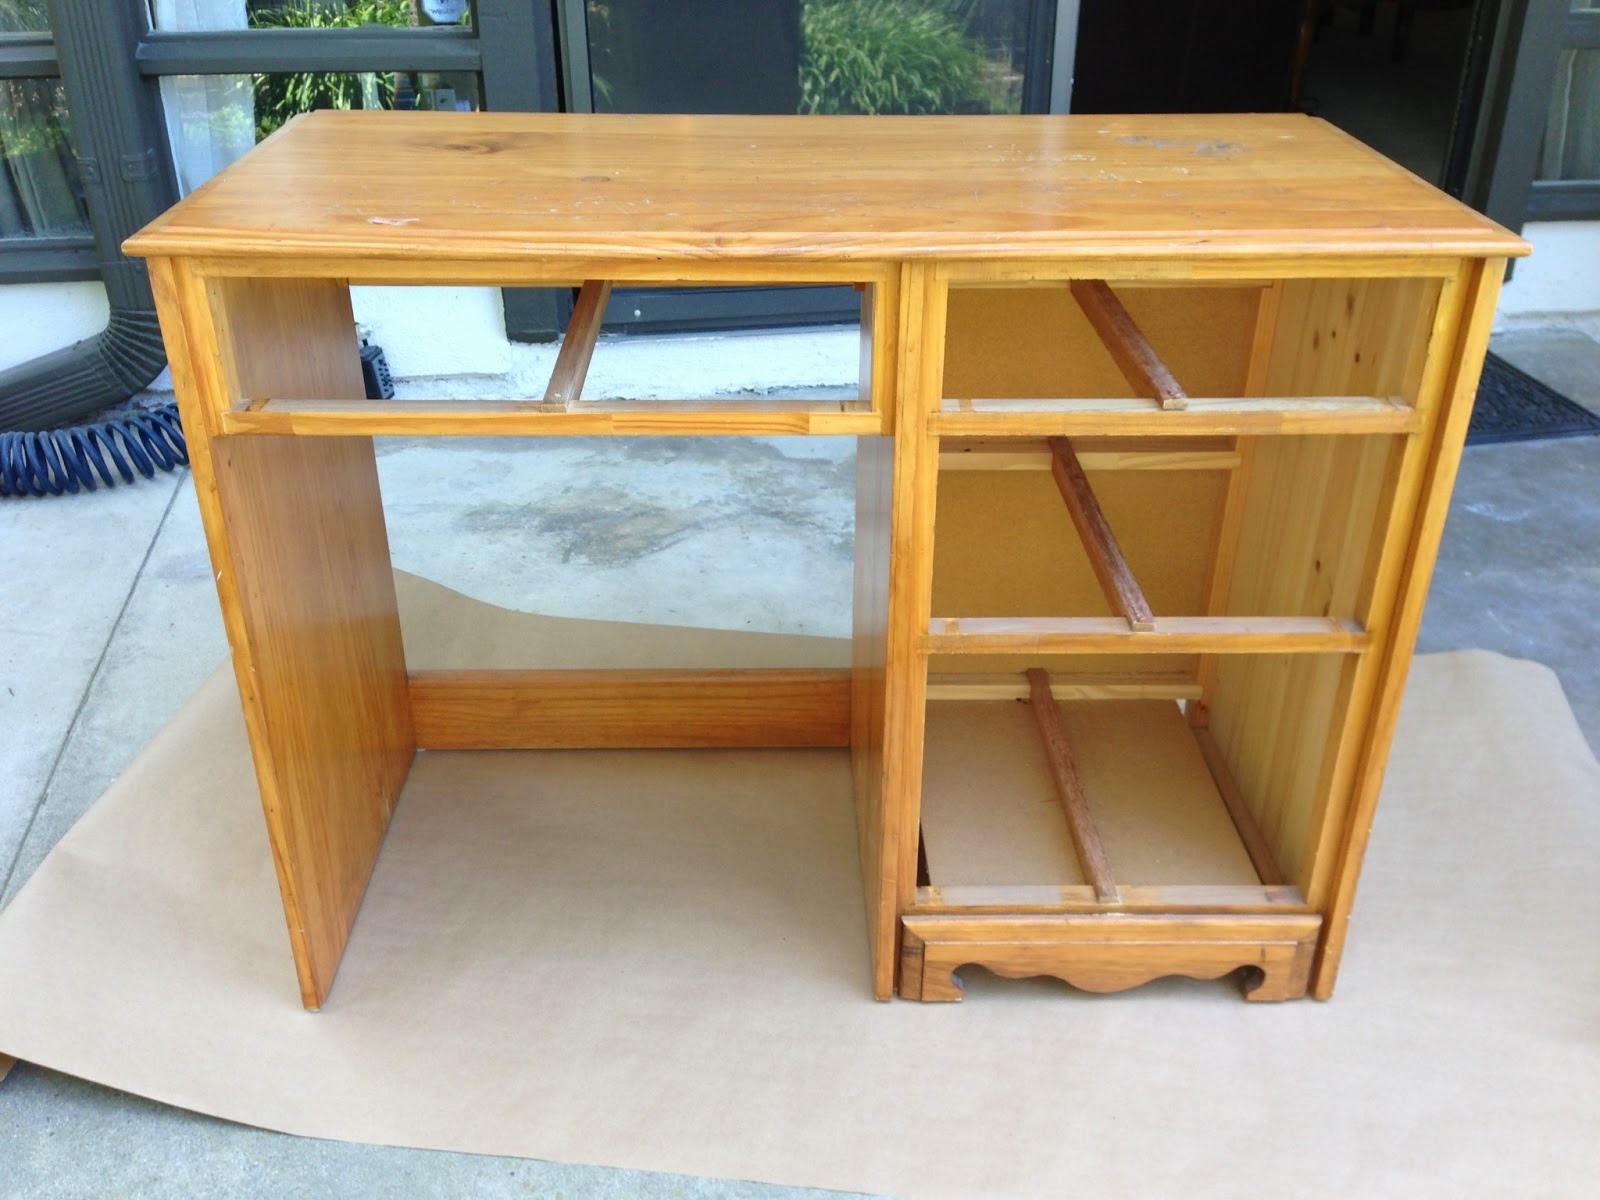
For those diving into a refinishing project, know that every DIY project requires a little prep wok. In this case, that means deconstructing. Before you break out the paint strippers and sanders, make sure to gut your desk of all the drawers, doors, and hardware. This will make individual pieces much easier to sand and finish later on. A quick run over with a damp sponge to clean out any old dirt and dust isn't a bad idea either.
* Bonus Tip: If you plan to reuse your hardware, be sure you keep all the pieces together and set them aside to clean. However, we recommend buying modern office furniture accessories and parts to help ensure the desk stays solid when put back together. Even if you like the classic look, most hardware stores have desk parts and pieces with an antique style just for projects like this!
Step 2: Remove the Finish

Now that your desk is cleaned, gutted, and deconstructed, it's time to get down to business. Often the fastest and most popular way of removing paint finish is by taking the desk outside and using paint strippers (but you must use caution, see below). Adding a layer of paint stripper helps to loosen old layers of paint so they can be scraped off with a paint scraper. However, since paint strippers use chemicals that can be quite dangerous, some DIYers prefer to use heat guns. Alternatively, a high powered sander with 80 to 100 grit paper can get the job done too on old paint and varnish. Just be sure you don't dull any details by sanding them down.
* Use Caution: Removing paint or varnish can be a dangerous task, especially when using paint strippers. Commonly, the active ingredient (methylene chloride) can cause terrible damage to skin. Burns can occur in less than a minute on unprotected flesh. Also, traditional paint strippers have a nasty habit of emitting carbon monoxide when inhaled, so its very dangerous.
** Safety Rules: When working with paint strippers, work outside in a well-ventilated space. Long sleeves, latex gloves, eye protection, and a painter's mask are an absolute must!
Step 3: Sand It

Classic bow front executive desks with gilded designs, and desks with quality craftsmanship deserve lots of care and consideration if their original character is to be preserved. However, if the original layer of paint or varnish is thin, and the desk isn't elaborately carved, often the second step can be skipped altogether. Sanding by itself is an excellent method for removing old coatings, and for a refinished desk, this step is a must.
To make a desk as smooth as possible, start with a coarser grain sand paper (like the 80 or 100 grain mentioned above) and slowly work your way to a finer grain (around 200 grit). This process will help take care of any sharp edges, stubborn spots, and leftover paint patches, leaving a smooth, clean surface. Don't forget the drawers and doors!
* Bonus Tips: Wear a painter's mask to keep from inhaling any wood dust. While an electric sander is much faster, hand sanding is best for a finely tuned finish that helps preserve any details.
Step 4: Stain or Paint?
Now that your desk is silky smooth, it's time for step four. For all the DIYers and artists out there, this is where the fun stuff happens!
 Painting: For those of you that plan to paint you desk, be sure to start off with a primer first. This will help ensure that there are no peekaboo spots where the wood shows through, and by the end of the painting process, it will help ensure that the color on the desk looks like the color you bought. After priming, apply two or more coats of the paint you want. Be sure to let each layer or paint and primer dry between coats. Again, don't forget to paint the drawers and doors!
 Staining: If paint isn't your thing, staining is always the best option for those that want the natural look. Unlike a paint, a stain will allow the true patterns and textures of the wood grain to show through. Many stains are water based and available in all sorts of colors at paint stores. With a pair of latex gloves, start by dipping a clean rag in the can, then following the grain of the wood, spread the stain evenly over the desk. For a lighter color, wait a minute or so after applying the stain, then wipe some of it off with a second clean cloth. For a darker look, don't wipe up anything and just apply a second coat of stain.
Step 5: Finish Finishing

When the paint or stain dries, go ahead and apply a few coats of clear polyurethane to preserve your work. Not only will these coats keep your desk looking good for a long time, but it also helps protect the wood surface from nicks, scrapes, and scratches. Because of the fumes, it's also a good idea to apply polyurethane outside or in a well-ventilated space.
At last, when that dries, put your desk back together, insert the drawers and doors, clean up the details and voila! Your desk is now ready to sit next to whatever stylish leather desk chairs you put next to it. Add your computer, pencils, pens, plants, and monitor arms for workstation that's all your own! Just don't forget the beverage coasters...
Step 1: Prepare Your Desk
Before you head off to the store to shop affordable new office desks, it's never a bad idea to take a second look at what you've got. Fortunately, most office desks are pretty sturdy, and even after years of use, well made wood desks usually have years of use to give. All they require is a little TLC.
For those diving into a refinishing project, know that every DIY project requires a little prep wok. In this case, that means deconstructing. Before you break out the paint strippers and sanders, make sure to gut your desk of all the drawers, doors, and hardware. This will make individual pieces much easier to sand and finish later on. A quick run over with a damp sponge to clean out any old dirt and dust isn't a bad idea either.
* Bonus Tip: If you plan to reuse your hardware, be sure you keep all the pieces together and set them aside to clean. However, we recommend buying modern office furniture accessories and parts to help ensure the desk stays solid when put back together. Even if you like the classic look, most hardware stores have desk parts and pieces with an antique style just for projects like this!
Step 2: Remove the Finish
Now that your desk is cleaned, gutted, and deconstructed, it's time to get down to business. Often the fastest and most popular way of removing paint finish is by taking the desk outside and using paint strippers (but you must use caution, see below). Adding a layer of paint stripper helps to loosen old layers of paint so they can be scraped off with a paint scraper. However, since paint strippers use chemicals that can be quite dangerous, some DIYers prefer to use heat guns. Alternatively, a high powered sander with 80 to 100 grit paper can get the job done too on old paint and varnish. Just be sure you don't dull any details by sanding them down.
* Use Caution: Removing paint or varnish can be a dangerous task, especially when using paint strippers. Commonly, the active ingredient (methylene chloride) can cause terrible damage to skin. Burns can occur in less than a minute on unprotected flesh. Also, traditional paint strippers have a nasty habit of emitting carbon monoxide when inhaled, so its very dangerous.
** Safety Rules: When working with paint strippers, work outside in a well-ventilated space. Long sleeves, latex gloves, eye protection, and a painter's mask are an absolute must!
Step 3: Sand It
Classic bow front executive desks with gilded designs, and desks with quality craftsmanship deserve lots of care and consideration if their original character is to be preserved. However, if the original layer of paint or varnish is thin, and the desk isn't elaborately carved, often the second step can be skipped altogether. Sanding by itself is an excellent method for removing old coatings, and for a refinished desk, this step is a must.
To make a desk as smooth as possible, start with a coarser grain sand paper (like the 80 or 100 grain mentioned above) and slowly work your way to a finer grain (around 200 grit). This process will help take care of any sharp edges, stubborn spots, and leftover paint patches, leaving a smooth, clean surface. Don't forget the drawers and doors!
* Bonus Tips: Wear a painter's mask to keep from inhaling any wood dust. While an electric sander is much faster, hand sanding is best for a finely tuned finish that helps preserve any details.
Step 4: Stain or Paint?
Now that your desk is silky smooth, it's time for step four. For all the DIYers and artists out there, this is where the fun stuff happens!
Staining: If paint isn't your thing, staining is always the best option for those that want the natural look. Unlike a paint, a stain will allow the true patterns and textures of the wood grain to show through. Many stains are water based and available in all sorts of colors at paint stores. With a pair of latex gloves, start by dipping a clean rag in the can, then following the grain of the wood, spread the stain evenly over the desk. For a lighter color, wait a minute or so after applying the stain, then wipe some of it off with a second clean cloth. For a darker look, don't wipe up anything and just apply a second coat of stain.Step 5: Finish Finishing
When the paint or stain dries, go ahead and apply a few coats of clear polyurethane to preserve your work. Not only will these coats keep your desk looking good for a long time, but it also helps protect the wood surface from nicks, scrapes, and scratches. Because of the fumes, it's also a good idea to apply polyurethane outside or in a well-ventilated space.
At last, when that dries, put your desk back together, insert the drawers and doors, clean up the details and voila! Your desk is now ready to sit next to whatever stylish leather desk chairs you put next to it. Add your computer, pencils, pens, plants, and monitor arms for workstation that's all your own! Just don't forget the beverage coasters...


